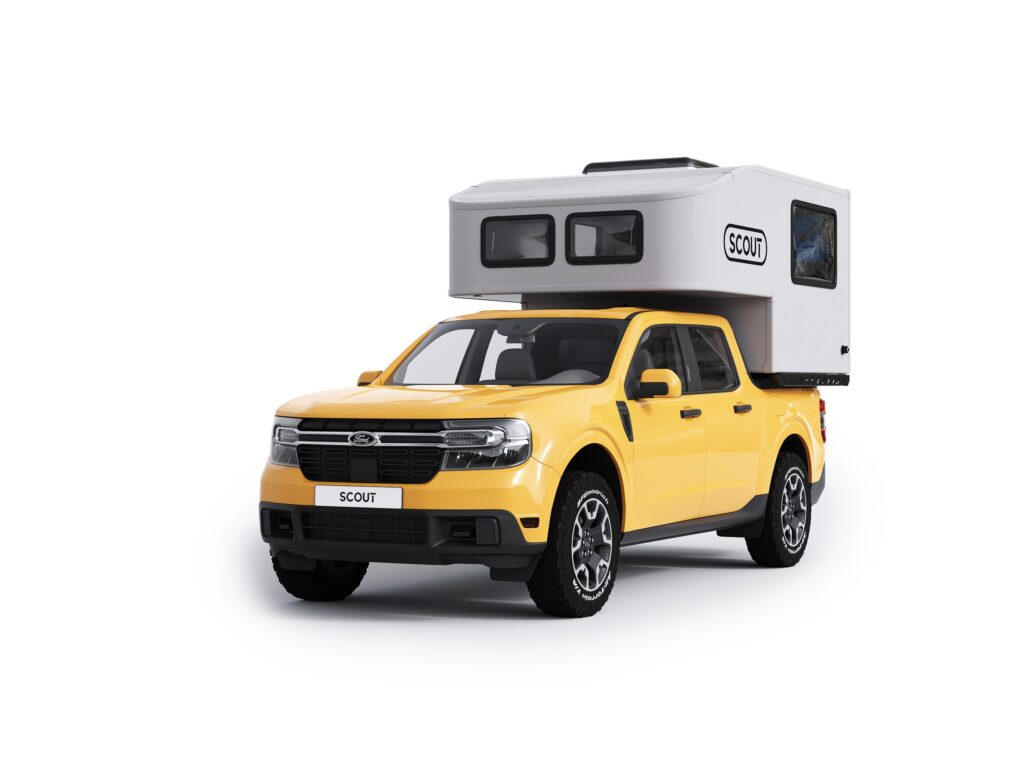
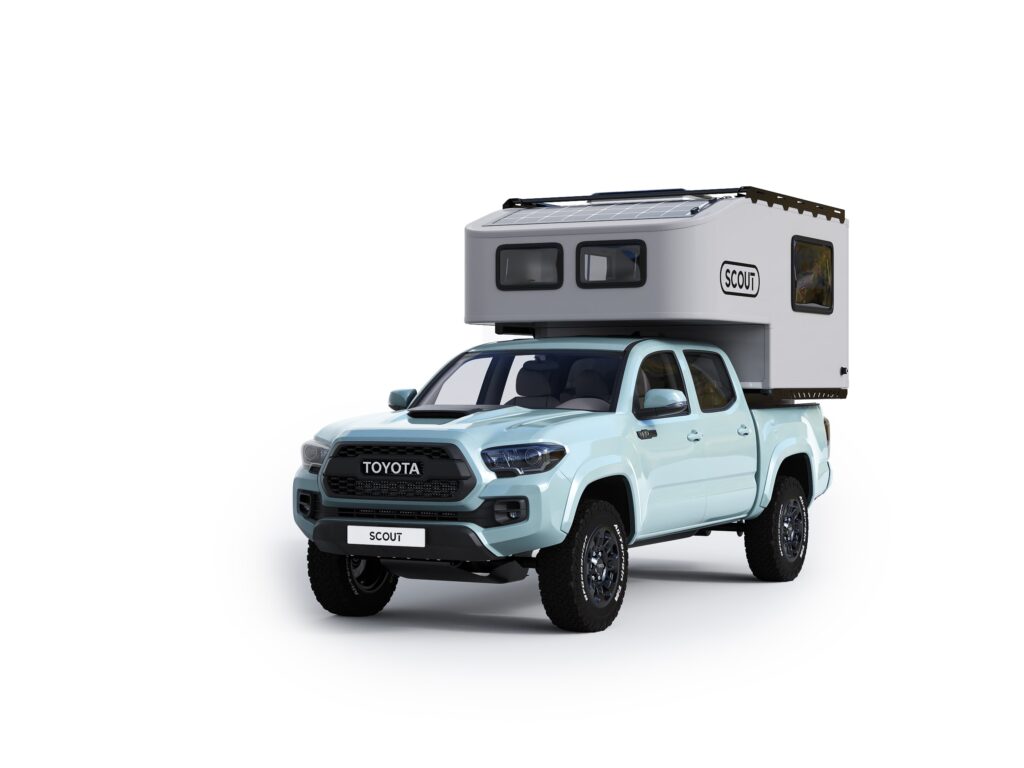
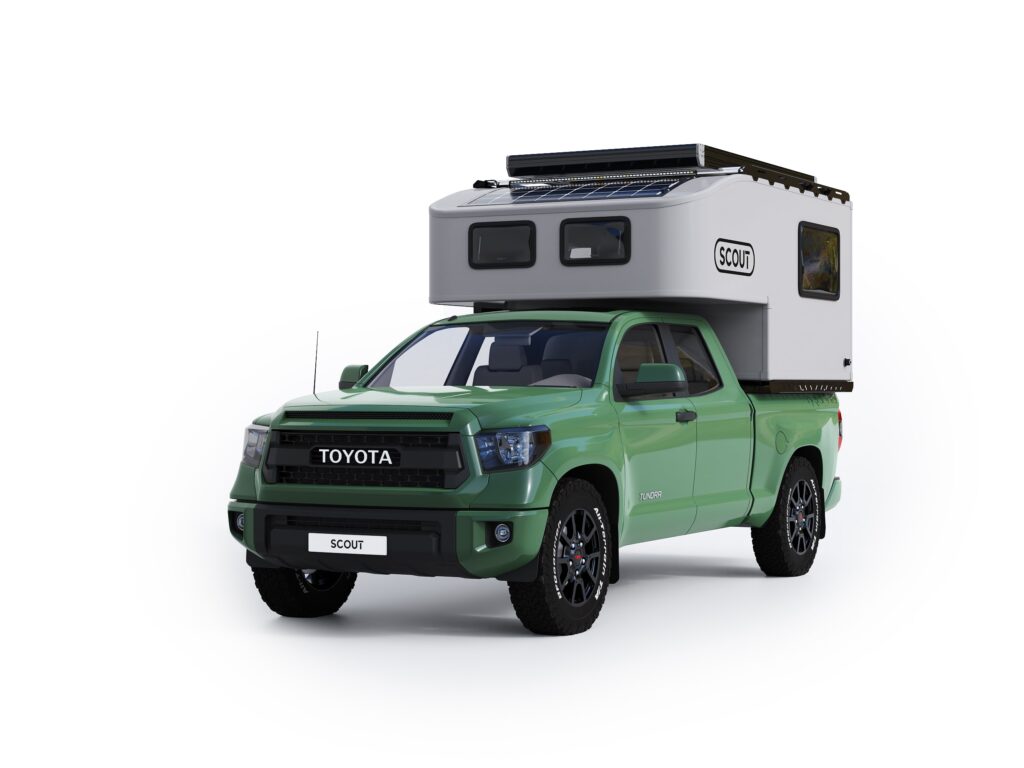
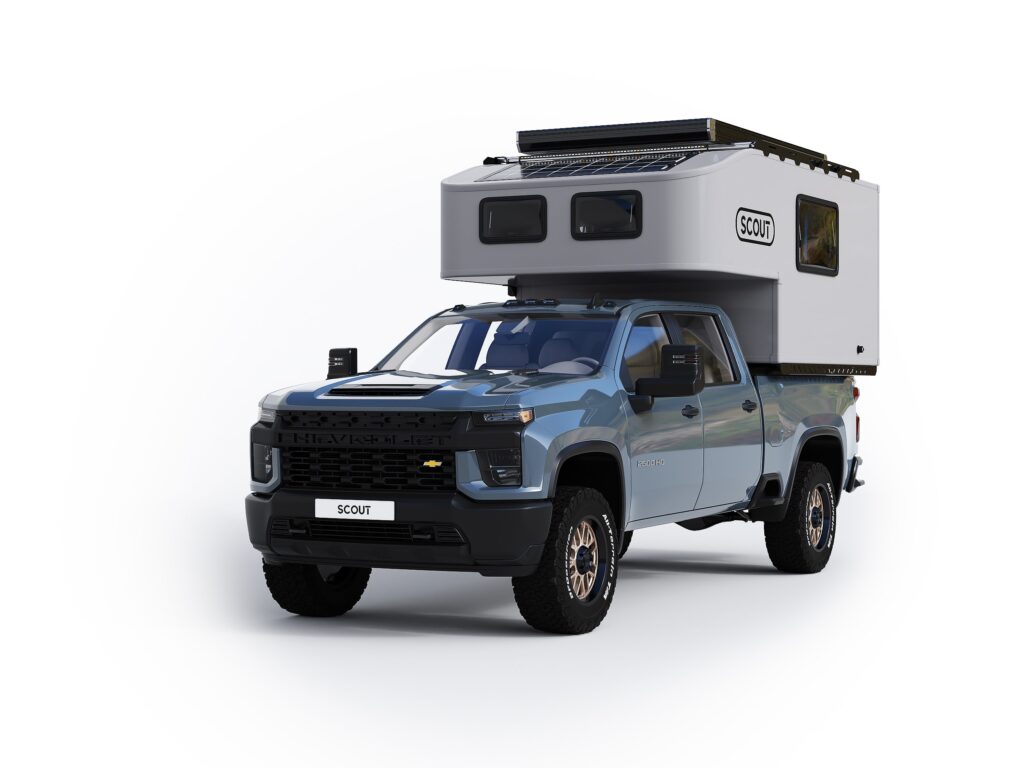
Truck Preparation Guide

A guide on how to get your truck ready for your new Scout Camper

You’re probably excited to get your Scout Camper installed onto your truck bed so that you get out adventuring as soon as possible but there are some important steps to take in order to properly fit the duo. This guide is intended to help you prepare your truck prior to installation to ensure that your Scout Camper is installed safely and securely.

Follow these simple steps to protect your truck and truck camper for years of adventures ahead. If you have any concerns or questions, please connect to your local dealer who will be more than happy to help you.

1. Check Your Payload and Carrying Capacity

Making sure that you are well within your truck’s payload and carrying capacity is crucial. Important considerations and calculations need to be made to ensure you are in this range. There are several things to consider when determining how much weight your truck can carry. Please refer to the list below:

1. Check your Payload Capacity – In many cases this rating is posted in the glove box of your truck, if not refer to your owner’s manual or manufacturers resources.

2. GVWR (Gross Vehicle Weight Rating) – Is the maximum weight the manufacturer rates that truck to carry, including weight of the truck and all people, cargo, fuel, etc.

3. GAWR (Gross Axle Weight Rating) – Is the maximum rating the manufacturer rates the axles to carry.

4. Tire Capacity (rating of your tire) – This fine print on the sidewall of your tire, usually just behind the tire inflation number, this will usually be a direct correlation to the axle ratings and GVWR on new truck.

The operator is responsible for analysing the conditions under which the truck and camper will be used for each trip.  After you have determined how much weight you can safely carry and selected those items to make up that weight, make a list and keep it for future reference. Remember to consider the weight of your gear, food, water, passengers, and pets!

2. Remove Your Truck’s Tailgate for Lighter Travel

While Scout Campers can be fitted onto your truck without removing the tailgate, removing your truck’s tailgate will lower your travel weight significantly (sometimes up to 75 lbs!). This is usually a simple process that does not require tools. If you do decide to take off the tailgate, do so before installing your truck camper onto your truck.

3. Empty and Protect the Truck Bed

Don’t forget to clear the truck bed of covers, rails, and shells. The truck bed needs to be cleared and empty for the truck camper installation. This includes removing items like plastic bed liners, rugs and carpet kits. It’s also a good idea to sweep and clean this area before installation. This prevents wear and tear from debris  and ensures your camper will be installed into a nice, clean bed.

Rubber Bed Mats keep your camper from sliding in the bed and that’s why we highly recommend them for all Scout Camper owners. Their main advantage is that they protect your truck bed surface and prevent damage on both your camper and your truck. Rubber Bed Mats are cost effective and will keep your Scout Camper more stable while it sits in the truck bed.

4. Choose the Right Tires

Make sure your truck tires are in good condition and have the right weight rating for your truck camper. You can find this capacity in the fine print on the sidewall of your tire, which is usually located just behind the tire inflation number. This will always be your weak link in your weight carrying capacity and should always be checked before carrying any load. We highly recommend “E” rated tires. While stock tires may be okay if they have the right weight rating and are in good condition, upgrading your existing tires is highly advised to improve your truck’s road performance, handling, safety and stability.

5. Check your Truck’s Electrical System

You can connect your Scout Camper to your truck’s electrical in a few ways. You can connect it to the 7-prong wiring located at the hitch or to a secondary 7-prong connection added to your truck box. If you are towing, you will need to use the second option. Both options will require a pigtail extension which you can purchase at your local dealership.

Prior to connecting the 7-prong wiring of the truck camper to your truck, make sure your truck’s electrical system is functioning well. Check the condition of your truck battery and make sure it’s free of corrosion. Once your truck’s electrical system is confirmed to be functioning well, you’ll be able to connect your truck to your new Scout.

6. Ensure Tie-Downs

All Scout Campers come standard with a Ratchet Tie Down System that will securely attach the truck camper to your truck. There are two ways to secure the ratchet hooks:

A) Use the factory tie-down anchors – verify with your truck dealership or manufacturer that they meet the load ratings of your Scout Camper.

B) Consider custom alternative solutions – connect with us or your local dealer to explore these options.

7. Explore Suspension Enhancements

For the best experience, we recommend that all Scout Camper owners get suspension enhancements especially if they own a mid-sized or half-ton truck. Properly rated airbags, helper springs or overload springs are highly recommended.

The Firestone Ride-Rite Air Bags are our recommendation because they are “designed to maximize safe load carrying capacity, stability, and overall ride quality.” Refer to your local tire shop for more information and installation. A leveled vehicle will grant more maneuverability, and ensure a safer, more stable ride.

Ready for Action!

A few simple steps can go a long way to ensure you have a great truck camping experience with safety and security. Your truck will now be ready to install your Scout Camper so that you can get out there and explore without limits.

If you have any questions, do not hesitate to reach out to a Brand Representative here who will be happy to address any questions you may have.

Happy truck camping!

This website uses cookies on your device to enhance site navigation, analyze site usage, and improve the user experience. View our Privacy Policy for more information.